Red Velvet Cake Pops
I remember the first crisp October evening I made Red Velvet Cake Pops — the kitchen glowed with warm light, a kettle sang on the stove, and the scent of cocoa and cinnamon felt like a sweater for the soul. These bite-sized treats quickly became a reader favorite because they bring nostalgic cake flavor into a handheld, festive form that’s perfect for fall gatherings and cozy afternoons.
Introduction
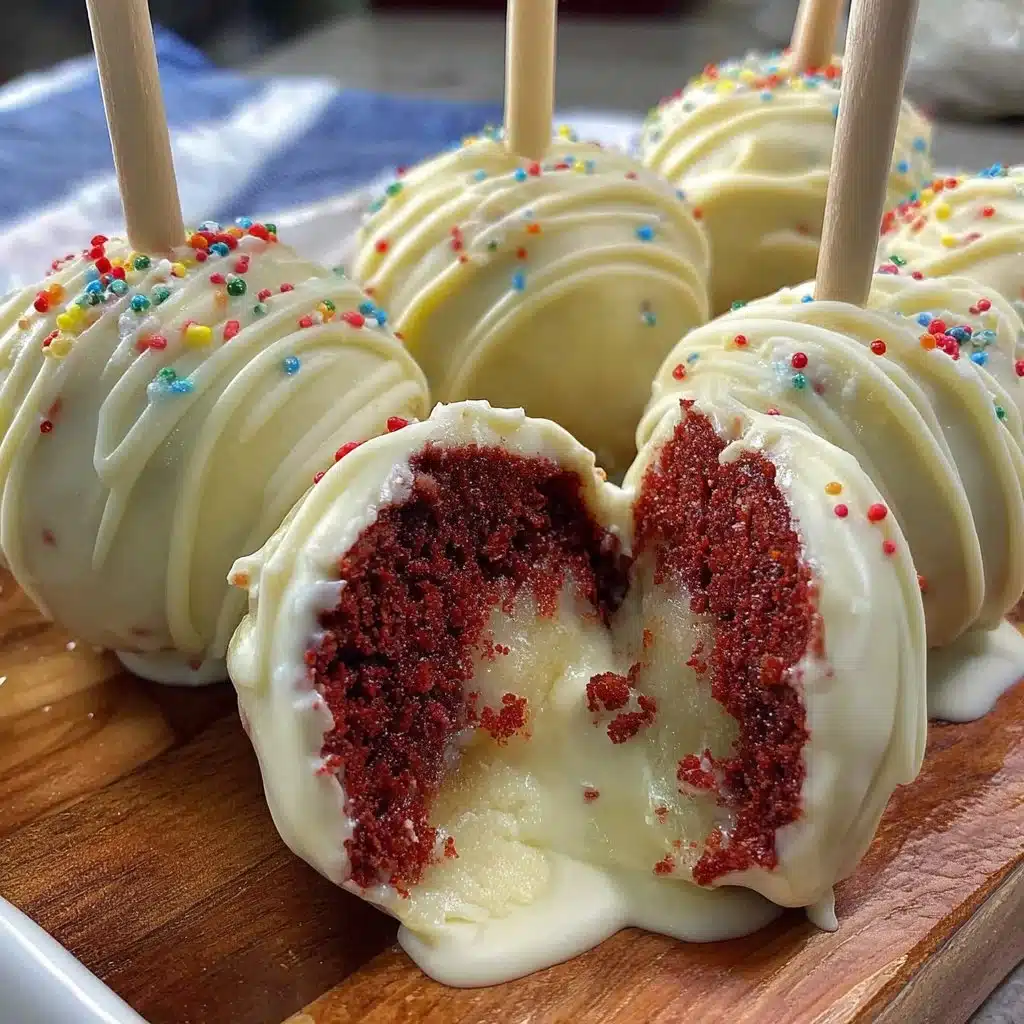
There’s something irresistible about Red Velvet Cake Pops: tender cake crumbs mixed with silky frosting, dipped in glossy chocolate, and dressed up for the season. Whether you’re baking for a school bake sale, holiday party, or a quiet tea with friends, these pops are an easy crowd-pleaser. If you love quick, simple bites, you might also enjoy our 2-ingredient banana donut holes as an extra treat.
Ingredients
Makes about 30 cake pops
- 1 boxed red velvet cake mix (follow package for bake time) — or use your favorite from-scratch recipe
- 1 cup cream cheese frosting (store-bought or homemade)
- 12–16 oz halal-friendly white chocolate coating or melting wafers
- 1 tablespoon neutral oil (to thin coating if needed)
- 30 lollipop sticks
- Decorative sprinkles, crushed nuts, or cinnamon streusel for topping
For a homemade red velvet cake from scratch, you’ll need:
- 2 cups all-purpose flour
- 1 1/2 cups sugar
- 1 teaspoon baking soda
- 1 teaspoon cocoa powder
- 1 cup buttermilk
- 2 large eggs
- 2 tablespoons red food coloring
- 1 teaspoon vanilla
- 1 1/2 teaspoons white vinegar
(If you’re pairing with light brunch sweets, try our 3-ingredient fruity breakfast.)
Step-by-step Instructions
- Bake the cake
- Prepare the red velvet cake batter and bake as directed. Let it cool completely — this helps with easier crumbling.
- Crumble and mix
- Break the cooled cake into crumbs in a large bowl. Add about 3/4 cup of cream cheese frosting and mix until the crumbs hold together when pressed. Add more frosting a tablespoon at a time if needed.
- Shape the pops
- Roll the mixture into 1- to 1.25-inch balls. Place them on a parchment-lined baking sheet and chill for at least 30 minutes so they’re firm.
- Prepare the coating
- Melt the white chocolate coating in a microwave-safe bowl in 30-second intervals, stirring between each, until smooth. Stir in oil if the coating is too thick.
- Assemble
- Dip the tip of a lollipop stick into the melted coating, then insert it about halfway into a chilled cake ball — this helps secure the stick. Repeat for each ball.
- Dip and decorate
- Dip each cake pop fully into the melted coating, tapping gently to remove excess. Add sprinkles or a streusel crumble right away before the coating sets. Place upright in a styrofoam block or a cake pop stand to dry.
- Chill and serve
- Once set, refrigerate briefly if your kitchen is warm. Serve at room temperature for the best flavor and texture.
Tips for Success
- Chill thoroughly: Proper chilling (before and after inserting sticks) prevents cake pops from falling apart during dipping.
- Avoid overmixing: Mix crumbs and frosting just until combined to keep a tender interior.
- Use a gentle heat: Overheating chocolate can make it thick and grainy. Stir frequently and heat gradually.
- Keep a steady hand: Tap the bowl’s edge lightly after dipping to avoid excess coating pooling at the bottom.
- If you’re making these for a brunch table, the recipe pairs nicely with lighter desserts like our 3-ingredient peach sorbet.
Possible Variations
- Gluten-free: Substitute a gluten-free cake mix or use a gluten-free flour blend in your scratch recipe to make gluten-free Red Velvet Cake Pops.
- Streusel topping: For a cozy fall twist, sprinkle a cinnamon streusel made from butter, brown sugar, and flour on the wet coating.
- Cocoa-dusted: Skip the coating and roll chilled cake balls in cocoa powder or powdered sugar for a rustic truffle look.
- Peanut-butter swirl: Fold in a few tablespoons of peanut butter to the frosting for a rich twist. If you want a no-bake bar to serve alongside, try our 4-ingredient peanut butter banana bars.
Storage Recommendations
- Short-term: Store cake pops upright in an airtight container at room temperature for up to 2 days.
- Refrigeration: For longer storage (up to 5 days), keep them refrigerated in a single layer to protect the coating. Let them come to room temperature before eating for the best flavor.
- Freezing: Wrap each pop individually in plastic wrap and store in an airtight container for up to 3 months. Thaw overnight in the refrigerator, then bring to room temperature before serving.
Conclusion
If you’re craving a seasonal, shareable dessert, these Red Velvet Cake Pops are a warm, easy way to celebrate cozy fall moments with friends and family. For a slightly different recipe idea and inspiration, check out this lovely guide to Red Velvet Cake Pops – Dessert for Two for extra tips and variations.
FAQs
- How long do Red Velvet Cake Pops last?
- At room temperature, they stay fresh for about 2 days. Refrigerated, they’ll keep up to 5 days. For longer storage, freeze individually wrapped pops for up to 3 months.
- Can I make Red Velvet Cake Pops without a boxed mix?
- Yes. You can use a homemade red velvet cake recipe (flour, cocoa, buttermilk, eggs, red coloring) and follow the same crumble-and-mix method to form cake pops.
- What coating works best for smooth dipping?
- Melting wafers or confectionery coating provide a smooth, even finish. High-quality white chocolate melted carefully also works well and tastes richer.
- How do I prevent cake pops from falling off the stick?
- Chill the rolled cake balls thoroughly, dip the stick tip in coating before inserting, and allow the coated base to set before fully dipping. Chilling again after inserting sticks helps the bond set.

Red Velvet Cake Pops
- Total Time: 60 minutes
- Yield: 30 cake pops
- Diet: Vegetarian
Description
These delightful Red Velvet Cake Pops bring nostalgic cake flavor into a festive, handheld treat perfect for fall gatherings.
Ingredients
- 1 boxed red velvet cake mix (or your favorite from-scratch recipe)
- 1 cup cream cheese frosting (store-bought or homemade)
- 12–16 oz halal-friendly white chocolate coating or melting wafers
- 1 tablespoon neutral oil (to thin coating if needed)
- 30 lollipop sticks
- Decorative sprinkles, crushed nuts, or cinnamon streusel for topping
- For homemade: 2 cups all-purpose flour, 1 1/2 cups sugar, 1 teaspoon baking soda, 1 teaspoon cocoa powder, 1 cup buttermilk, 2 large eggs, 2 tablespoons red food coloring, 1 teaspoon vanilla, 1 1/2 teaspoons white vinegar
Instructions
- Bake the cake: Prepare the red velvet cake batter and bake as directed. Let it cool completely.
- Crumble and mix: Break the cooled cake into crumbs in a large bowl. Add about 3/4 cup of cream cheese frosting and mix until it holds together.
- Shape the pops: Roll the mixture into 1- to 1.25-inch balls. Chill for at least 30 minutes.
- Prepare the coating: Melt the white chocolate coating in a microwave-safe bowl until smooth.
- Assemble: Dip the tip of a lollipop stick into the melted coating, then insert into a cake ball.
- Dip and decorate: Dip each cake pop fully into melted coating, add toppings, and let dry.
- Chill and serve: Refrigerate briefly if warm, serve at room temperature.
Notes
Chill thoroughly to prevent pops from falling apart. Use a gentle heat to melt the chocolate coating.
- Prep Time: 30 minutes
- Cook Time: 30 minutes
- Category: Dessert
- Method: Baking
- Cuisine: American