
Peach jelly recipe — the words alone bring back warm memories of my grandma’s kitchen, where juicy peaches simmered away into jars of glowing sweetness. That first homemade peach jelly turned my curiosity into a love for making simple, honest recipes from scratch. Over the years, I’ve tested and perfected this peach jelly recipe so anyone can capture that sunny taste in a jar. Here, you’ll learn how to pick the right peaches, prep them properly, and store your jelly safely for year-round enjoyment. Plus, I’ll share a few quick secrets I picked up from running Fresh Leaf Rezepte, where every dish is made to be shared. If you love easy fruit treats, don’t miss our Canned Peach Pie Recipe — another timeless favorite for peach season lovers.
Table of Contents
1:Your Perfect Start for a Peach Jelly Recipe
Pick Ripe, Sweet Peaches
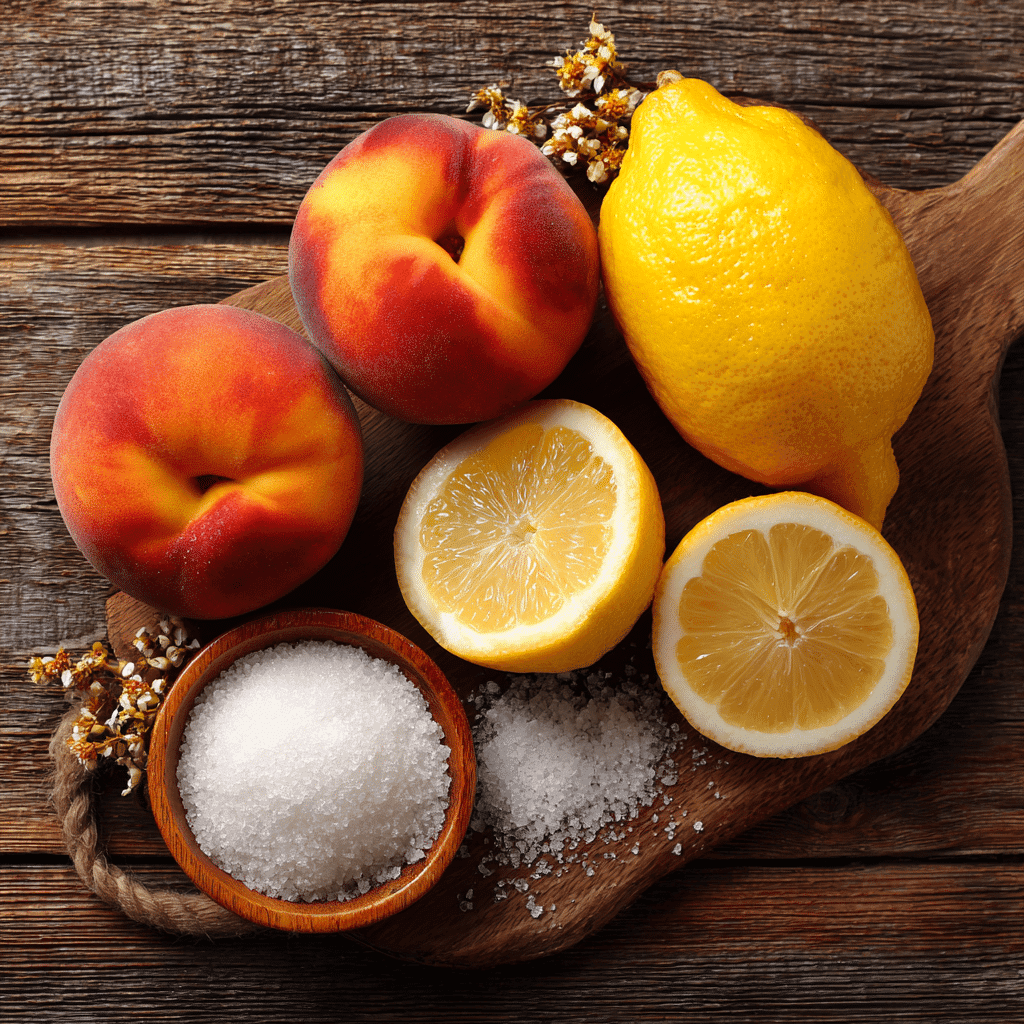
A great peach jelly recipe starts with great peaches. Freestone varieties are perfect because they’re simple to pit and slice. Always look for peaches that smell rich and feel slightly soft — they’re at their sweetest. Farmers’ markets often have a “jam table” where you can get extra-ripe fruit at a better price. You’ll need about four pounds for a small batch. Don’t skimp here; ripe peaches make all the difference in flavor and set.
If you love using seasonal peaches in new ways, try my Peach Ice Cream Recipe — it’s a creamy, dreamy treat for warm days.
Gather Tools and Ingredients
Stick to the basics: fresh peaches, sugar, fresh lemon juice, and fruit pectin. A wide pot, canning funnel, ladle, and clean jars with lids are musts. I recommend a candy thermometer if you’re new to jelly making — hitting the right temp guarantees a perfect set every time. If you don’t have one, the classic spoon test works fine too. If you’re curious about more sweet peach ideas, my Peach Bread Recipe is another easy bake that turns ripe fruit into a cozy snack.
2: Preparing Peaches for the Perfect Peach Jelly Recipe
Wash, Peel, and Pit
Before you start cooking, give your peaches a gentle rinse under cool water to remove fuzz and any dirt. Blanching helps loosen the skins: drop peaches in boiling water for about 30 seconds, then transfer them to an ice bath. The skins should slide right off. Slice the peaches in half, remove the pits, and chop them roughly — you’ll strain the solids later, so perfect cuts aren’t needed.
For another creative peach twist, check out our Chicken and Peaches Recipe. It’s sweet, savory, and proof that peaches shine in more than desserts.
Cooking Down the Peaches
Put your chopped peaches in a large, heavy pot. Add a splash of water to prevent scorching. Bring them to a gentle simmer over medium heat, stirring often so they don’t stick. After about 15 minutes, the fruit should break down nicely. Now, use a potato masher or a big spoon to crush them and release all that sweet juice.
Next, strain the cooked peaches through a jelly bag or fine mesh sieve into another pot. Don’t rush — let gravity do the work for clear jelly. Pressing too hard can make the jelly cloudy, but it’ll still taste fantastic.
If you enjoy fruity summer bars, don’t miss our Heavenly Summer Peach Bars — they’re a quick bake that pairs perfectly with homemade jelly.
3: Sweeten and Set Your Peach Jelly Recipe
Adding Sugar and Pectin
Now comes the sweetest part of your peach jelly recipe. Once you’ve strained the juice, measure it — you’ll need about 1 cup of sugar for each cup of juice. Pour the juice back into your clean pot and add the sugar gradually while stirring. Bring the mix to a gentle boil over medium-high heat. Stir constantly to keep the sugar from sticking to the bottom.
When the sugar has dissolved, sprinkle in your fruit pectin. Keep stirring to prevent lumps. If you’re using powdered pectin, dissolve it in a little water first for an even mix. The pectin helps your peach jelly recipe set up firm and smooth.
For a refreshing twist on summer peaches, check out this simple 3-Ingredient Peach Sorbet — perfect for leftover fruit!
Reaching the Perfect Gel Point
Bring your peach jelly to a rolling boil and keep it there for about 5–10 minutes. Use a candy thermometer if you have one — you’re aiming for about 220°F (104°C). This is the magic gel point where your jelly thickens up beautifully once cooled.
If you don’t have a thermometer, the spoon test works: dip a cold spoon in the boiling jelly, lift it, and watch. If it drips off in a sheet rather than droplets, you’re good to go.
Skim off any foam with a clean spoon to keep your jelly clear and bright. For another sweet spoonful, try my Best Peach Crisp Recipe — warm, crumbly, and a perfect companion for your jelly on toast.
4: Seal, Store, and Enjoy Your Peach Jelly Recipe
Fill and Seal the Jars
Your peach jelly recipe is nearly done! Get your sterilized jars ready — keep them warm so the hot jelly won’t crack the glass. Using a funnel, carefully ladle the jelly into each jar, leaving about ¼ inch of headspace at the top. Wipe the rims clean with a damp cloth to make sure there’s no sticky residue. Place the lids on, then screw on the bands just until fingertip-tight.
Next, process the jars in a boiling water bath for about 5 to 10 minutes. This step seals them properly and keeps your peach jelly safe for months on the shelf. Listen for the satisfying pop when the jars cool — that’s how you know they’re sealed tight.
Store and Serve
Once cooled, check each lid for a firm seal. Any jar that didn’t seal can go straight into the fridge and be eaten first. Store sealed jars in a cool, dark place. Properly processed, your peach jelly should stay fresh for up to a year.
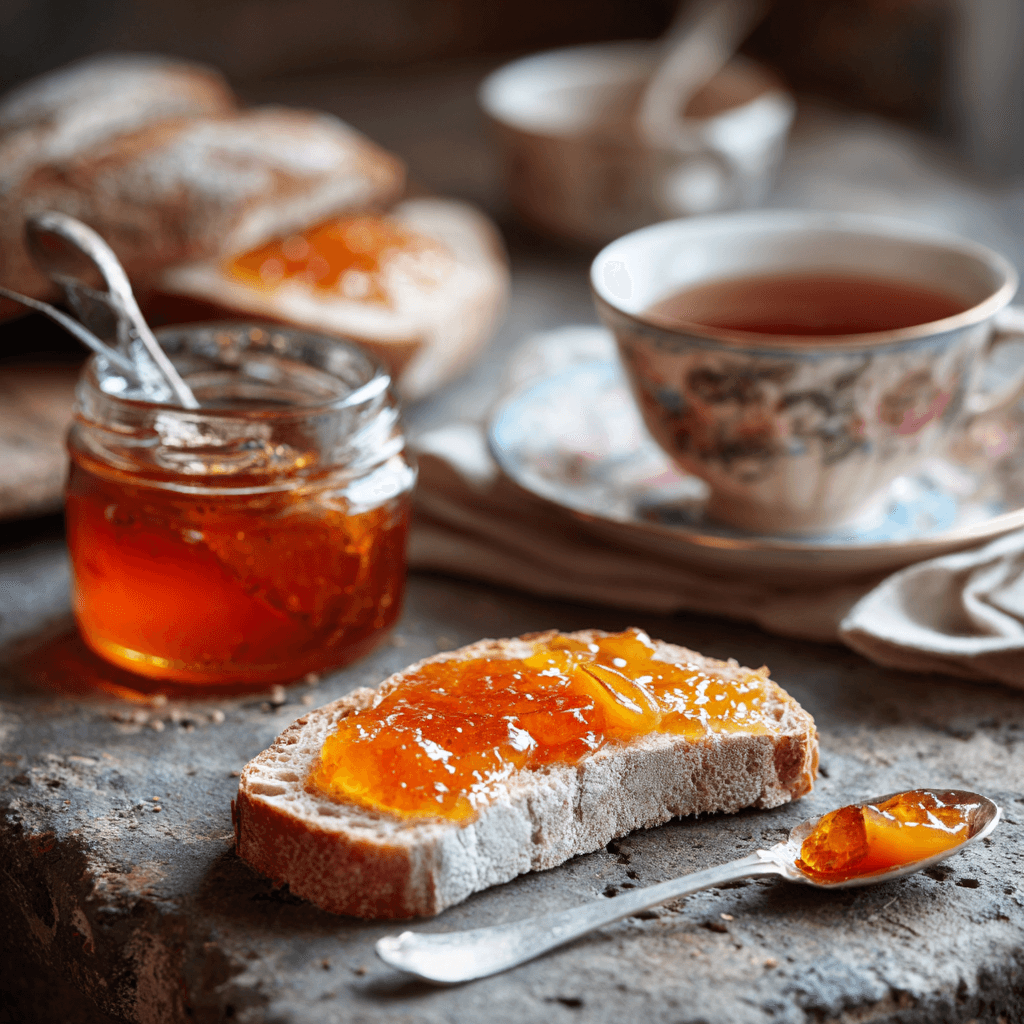
When you’re ready to enjoy it, spread it on warm toast, swirl it into yogurt, or give it as a homemade gift. For more sweet peach inspiration, try our Peach Bread Recipe alongside your jelly for the ultimate breakfast treat.
for mor recipes follow me in facebook and pinterest
5: Conclusion
Now you’ve got everything you need to make the perfect peach jelly recipe at home — from picking ripe fruit to sealing the final jar. Simple, sweet, and timeless — just like grandma made. Keep this tradition alive, one spoonful at a time!
How long does homemade peach jelly last?
When properly sealed and stored in a cool, dark pantry, your peach jelly recipe can last up to a year.
Can I use frozen peaches for peach jelly?
Yes! Thaw them completely and drain excess liquid before starting.
Do I really need pectin?
Pectin helps your jelly set well. Without it, you’ll have to cook the fruit longer and may get more of a syrup than a firm jelly.
What if my jelly didn’t set?
Don’t worry — bring it back to a boil, add a bit more pectin, and process again. Or enjoy it as a peach syrup for pancakes!
Peach Jelly Recipe
- Total Time: 1 hour 15 minutes
- Yield: 6–8 half-pint jars
Description
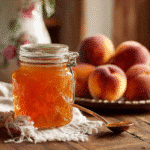
This Peach Jelly Recipe captures the sunny taste of ripe peaches in a jar — simple, sweet, and perfect for spreading on toast or gifting to friends.
Ingredients
- 4 pounds ripe peaches
- 1 cup sugar per cup of peach juice
- 1 box fruit pectin
- 2 tablespoons fresh lemon juice
- Water, for blanching and simmering
Instructions
- Wash peaches under cool water. Blanch in boiling water for 30 seconds, transfer to ice bath, then peel, pit, and chop.
- Place peaches in a large pot with a splash of water. Simmer over medium heat for about 15 minutes until fruit breaks down.
- Crush peaches with a potato masher, then strain juice through a jelly bag or fine sieve into another pot. Let drain naturally for clear jelly.
- Measure the juice. For each cup of juice, add 1 cup of sugar. Pour juice into a clean pot and stir in lemon juice.
- Gradually stir in sugar while heating over medium-high heat. Bring to a gentle boil, stirring constantly.
- Dissolve pectin in a little water if using powdered, then add to the pot while stirring.
- Bring jelly to a rolling boil for 5–10 minutes. Use a candy thermometer to reach 220°F (104°C) or use the spoon test.
- Skim any foam. Carefully ladle hot jelly into sterilized warm jars, leaving ¼ inch headspace.
- Wipe rims clean, add lids and bands, then process jars in a boiling water bath for 5–10 minutes.
- Cool jars. Listen for the pop — store sealed jars in a cool, dark place for up to a year.
Notes
Check lids to ensure they’re sealed. Refrigerate any unsealed jars and enjoy first. Spread on toast, swirl into yogurt, or give as a sweet homemade gift.
- Prep Time: 30 minutes
- Cook Time: 45 minutes
- Category: Preserves
- Method: Canned
- Cuisine: Homemade