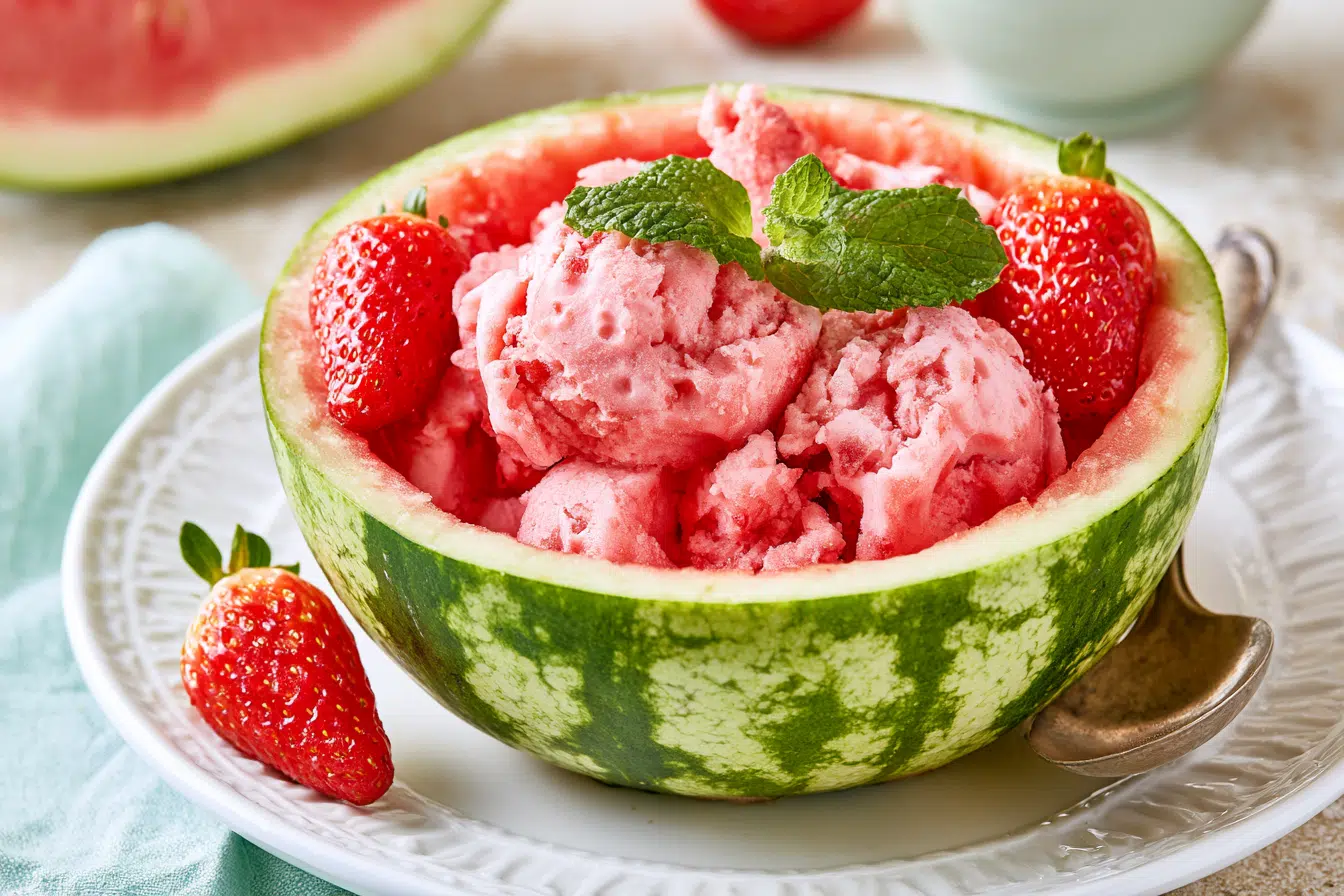
Imagine a vibrant, cool dessert perfect for hot summer days. Watermelon ice cream in a watermelon shell offers a delightful and visually stunning treat. This innovative dessert transforms a simple summer fruit into an unforgettable experience. Creating this refreshing treat involves blending fresh watermelon with a few key ingredients. You will need a ripe, seedless watermelon to achieve the best flavor and texture. This recipe ensures a creamy, flavorful ice cream that captures the essence of summer. It is perfect for backyard barbecues or a special family gathering.
Why You’ll Love Making Watermelon Ice Cream in Its Own Shell
You will love making watermelon ice cream in its own shell because it combines visual appeal with incredible taste and simplicity. This unique presentation makes your dessert a showstopper at any summer gathering. Imagine the delight on your guests’ faces when you present this vibrant summer dessert. This recipe is incredibly easy to make, even for novice chefs. You can choose between a traditional ice cream maker method or a convenient no-churn option. The no-churn method often involves just two ingredients, such as sweetened condensed milk and heavy cream, blended with frozen watermelon. This approach yields a wonderfully creamy texture without special equipment. Using a ripe watermelon ensures the best flavor for your homemade ice cream. For a dairy-free alternative, coconut milk can replace heavy cream, maintaining that luscious consistency. This viral trend is not just beautiful; it is also a refreshingly delicious way to enjoy your favorite summer fruit.
Essential Ingredients for Your Watermelon Ice Cream
To make delicious watermelon ice cream, you will need a few core items and kitchen tools. This recipe focuses on simplicity and flavor. You can achieve fantastic results with just a few basic components. For a quick version, you might even manage with just 2 ingredients. You will need a large fruit to serve as your container. After preparing the fruit, you will scoop out its flesh.
Ingredients for Watermelon Ice Cream
| Ingredient | Quantity/Notes |
|---|---|
| Fresh Watermelon | 1 large, seedless (about 8-10 lbs) |
| Sweetened Condensed Milk | 1 (14 oz) can (adjust to taste) |
| Heavy Cream | 2 cups (for a richer texture) |
| Lime Juice | 1 tablespoon (enhances flavor) |
| Vegan Option | Substitute full-fat coconut cream for heavy cream |
Equipment for Preparation
You will need a sturdy spoon or ice cream scoop to scrape out the fruit’s interior. A good quality blender or food processor is essential for achieving a smooth mixture. These tools help create a consistent texture for your frozen dessert. Finally, you will need freezer space to freeze overnight.
How to Choose the Perfect Watermelon for Ice Cream
Choosing the perfect large fruit for your watermelon ice cream in a watermelon shell is crucial for a delicious outcome. The quality of your fruit directly impacts the taste and texture of your homemade frozen treat. A well-selected fruit will provide both a sweet base and a sturdy serving vessel.
- Step 1:Look for a symmetrical, uniform shape. Avoid fruits with irregular bumps or flat sides, as these might indicate inconsistent growth.
- Step 2:Check for a prominent yellow spot on the underside. This indicates where the fruit rested on the ground and ripened in the sun. A white or green spot means it was picked too early.
- Step 3:Lift the fruit to feel its weight. A good fruit will feel heavy for its size, indicating it is full of water and flavor.
- Step 4:Give the fruit a good thump. A hollow, deep sound suggests a juicy, mature fruit. Avoid dull thuds or very high-pitched sounds.
- Step 5:Inspect the stem or field spot. A dry, shriveled stem means the fruit is ready. A green stem might indicate it was harvested prematurely.
Step-by-Step Guide: Making Watermelon Ice Cream in a Watermelon Shell
Making this delightful frozen dessert involves several simple stages. You will begin by preparing the fruit itself. Then, you will create the creamy mixture. Finally, you will chill it until firm.
- Step 1: Prepare the Fruit.Carefully slice your chosen fruit in half lengthwise. Use a large spoon or ice cream scoop to remove all the red flesh. Leave about a half-inch border of pink flesh attached to the rind. This creates a sturdy serving bowl.
- Step 2: Puree the Fruit.Place the scooped-out fruit flesh into a large bowl. Use an immersion mixer or a potato masher to break it down. Achieve a smooth puree. Strain the puree through a fine-mesh sieve to remove any remaining seeds or fibrous bits.
- Step 3: Combine Ingredients.In a separate large bowl, whisk together the sweetened condensed milk, heavy cream, and lime juice. Gradually fold in the pureed fruit. Mix until everything is well combined and has a uniform pink color.
- Step 4: Fill and Chill.Pour the creamy fruit mixture back into the hollowed-out fruit halves. Cover each half tightly with plastic wrap. Place them in the freezer for at least 6 hours, or until completely solid.
- Step 5: Serve.Once firm, remove the plastic wrap. Use an ice cream scoop to serve generous portions directly from the chilled fruit. Garnish with fresh mint leaves or chocolate chips if desired.
Preparing Your Watermelon Shell for Serving
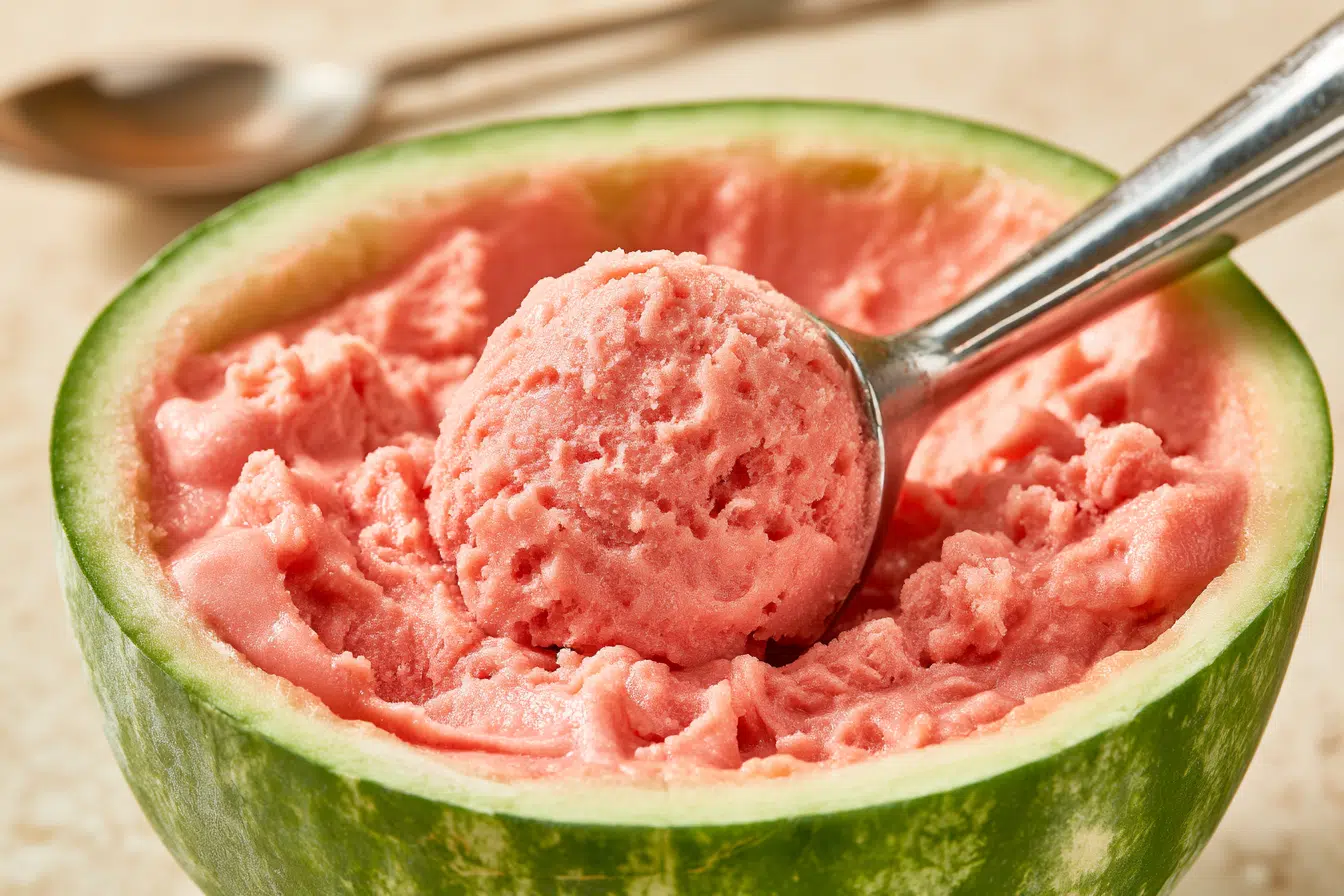
Preparing your fruit vessel for serving ensures a beautiful and functional presentation. First, select a firm, blemish-free fruit. This provides a stable base for your frozen dessert. Next, carefully slice the fruit in half lengthwise. A sharp, long knife works best for this task. After slicing, use a large spoon or an ice cream scoop to remove the red pulp. Scrape gently, leaving about a half-inch of the pink flesh attached to the rind. This inner layer adds to the visual appeal and strengthens the natural bowl. You want a clean, smooth interior. Additionally, trim a small, flat section from the bottom of each half. This creates a stable base, preventing your fruit bowl from tipping. Your homemade frozen treat will sit perfectly.
Churn vs. No-Churn: Which Method is Best?
Deciding between churn and no-churn methods depends on your equipment and desired texture. A churn method typically uses an ice cream maker. This machine continuously mixes the mixture as it cools. This process incorporates air and prevents large ice crystals from forming. The result is a remarkably smooth and creamy dessert. Alternatively, the no-churn method requires no special equipment. You simply combine your ingredients and chill the mixture. This approach often uses heavy cream and a sweet base to achieve a rich consistency. While convenient, no-churn options might produce a slightly icier texture. For a truly luxuriousfrozen dessert, churning is often preferred. However, both methods deliver delicious results for your fruit-based treat.
Expert Tips for Creamy, Delicious Watermelon Ice Cream
Want to achieve the perfect texture for your homemade fruit dessert? Start with well-chilled ingredients. This helps the mixture firm up faster and reduces ice crystal formation. Furthermore, ensure your fruit puree is very smooth. Strain it thoroughly to remove any fibrous bits. This creates a silkier final product. Consider adding a touch of liquid sweetener, like agave nectar, for enhanced flavor. A small amount can boost the sweetness without overpowering the natural fruit taste. For an extra creamy consistency, gently fold in some whipped coconut cream. This enriches the mixture beautifully. Additionally, avoid overmixing once all ingredients are combined. Overmixing can incorporate too much air, leading to a less dense treat. When chilling, cover your container tightly. This prevents freezer burn and maintains freshness. For the best results, allow the dessert to firm up for at least six hours. This ensures it is perfectly scoopable.
Serving and Storing Your Watermelon Ice Cream
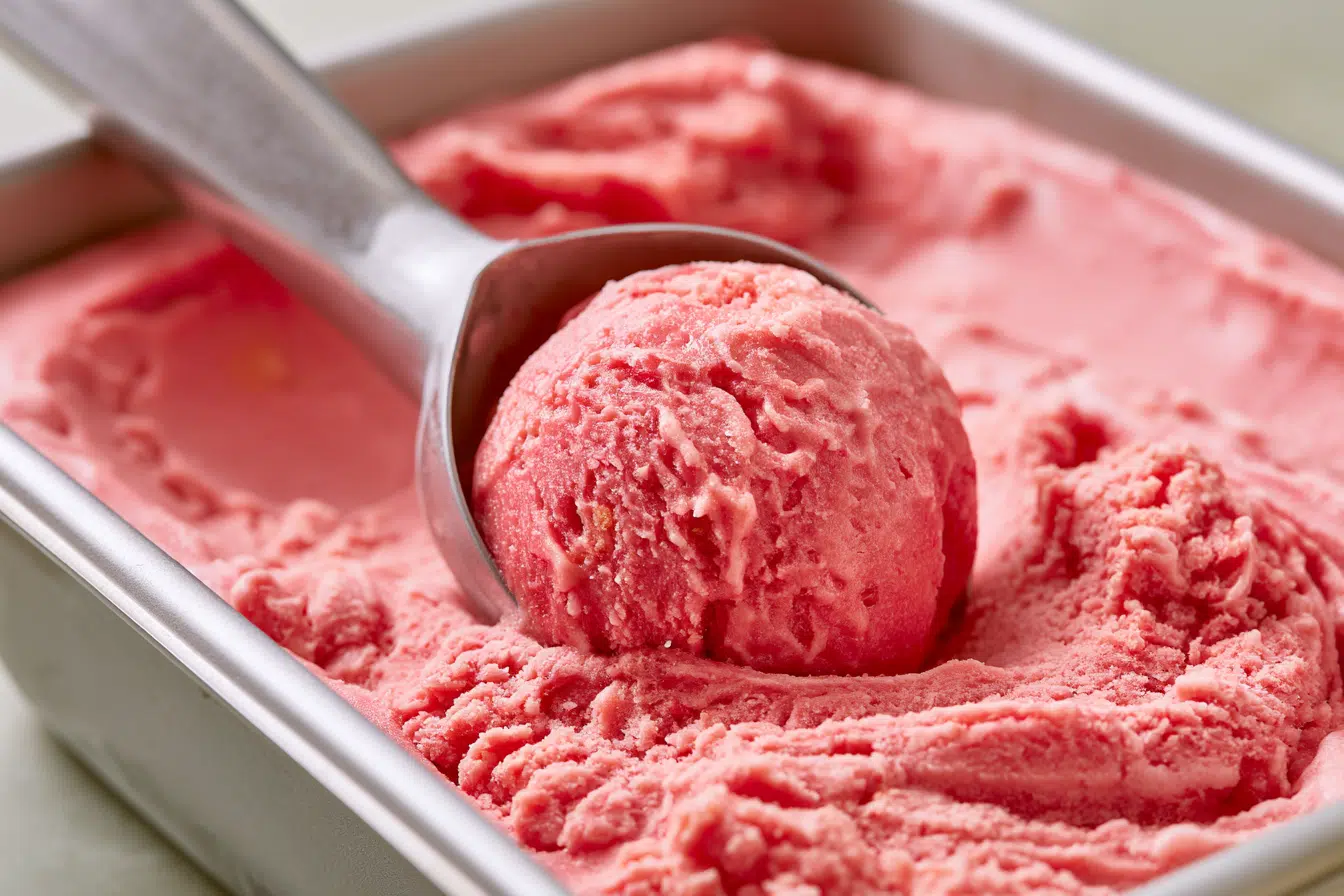
Serving your delightful frozen confection directly in its natural rind is simple and impressive. Once your dessert is firm, use an ice cream scoop to create beautiful portions. Arrange these scoops artfully within the hollowed-out fruit halves. Garnish with fresh mint leaves or small fruit pieces for an extra touch of elegance. This presentation makes for a stunning centerpiece at any summer gathering. To store any leftovers, transfer the remaining frozen treat from the fruit rind into an airtight container. This prevents freezer burn and maintains its fresh taste. You can keep this homemade dessert in the freezer for up to two weeks. For optimal enjoyment, allow it to soften slightly at room temperature for a few minutes before serving again. This brings out its creamy texture and full flavor. For another refreshing meal idea, try ourOne-Pan Dirty Spaghetti.
Creative Variations and Add-ins for Your Watermelon Ice Cream
Want to elevate your chilled fruit dessert to new heights? Consider various exciting additions. You can swirl in different fruit purees for a marbled effect. Try raspberry or mango for a vibrant contrast. Alternatively, incorporate finely chopped fresh herbs. Mint or basil can add a refreshing, unexpected twist. For a textural surprise, fold in miniature chocolate chips. These provide a delightful crunch. You could also add a splash of citrus juice, like lime or lemon, to brighten the flavor profile. This enhances the fruit’s natural zest.
Frequently Asked Questions About Watermelon Ice Cream
How do you make watermelon ice cream in a watermelon shell?
First, hollow out your fruit, reserving the pulp. Puree the fruit pulp until smooth. Combine this with the other components. Pour the mixture back into the empty fruit rind. Then, chill it until firm. This creates a delightful presentation.
What are the ingredients for watermelon ice cream in a watermelon shell?
You will need fresh fruit pulp, a rich milk product, and a sweet, thick milk product. Additionally, a touch of vanilla extract enhances the flavor. Some recipes also include a pinch of salt to balance the sweetness. For a different dessert idea, considerKeto Bacon Ranch Chicken Bake.
Can you freeze a watermelon to make ice cream?
Yes, you can freeze the fruit pulp before blending. Freezing the fruit first can help create a thicker, more sorbet-like consistency. It also reduces the need for additional ice, ensuring a richer flavor. This method works well for a quick, refreshing treat.
Is watermelon ice cream healthy?
This dessert can be a healthier alternative to traditional ice creams. It contains natural sugars from the fruit. You can also adjust the amount of added sweeteners. It offers vitamins and hydration from the fruit. For another healthy option, trySpinach Stuffed Chicken Breasts.
How long does homemade watermelon ice cream last?
Homemade versions typically last about one to two weeks in the freezer. Ensure it is stored in an airtight container to prevent ice crystals. This keeps it fresh and delicious. Freezing it directly in its rind helps maintain its unique shape and flavor. This makes it a perfect summer dessert, similar to howChicken Caesar Smash Tacosare a perfect quick meal.
Print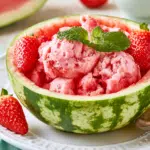
Homemade Watermelon Ice Cream in a Watermelon Shell Recipe
- Total Time:6 hours 20 minutes
- Yield:8 servings
Description
A vibrant, cool dessert perfect for hot summer days. Watermelon ice cream in a watermelon shell transforms a simple summer fruit into a creamy, refreshing frozen treat with an unforgettable presentation.
Ingredients
- 1large seedless watermelon (about8-10lbs)
- 1(14 oz) can sweetened condensed milk
- 2 cupsheavy cream
- 1 tablespoonlime juice
- Full-fat coconut cream instead of heavy cream (optional vegan alternative)
Instructions
- Carefully slice the watermelon in half lengthwise.
- Use a large spoon or ice cream scoop to remove all the red flesh, leaving about a half-inch border of pink flesh attached to the rind.
- Place the scooped-out watermelon flesh into a large bowl and puree until smooth.
- Strain the puree through a fine-mesh sieve to remove any remaining seeds or fibrous bits.
- In a separate large bowl, whisk together the sweetened condensed milk, heavy cream, and lime juice.
- Gradually fold in the watermelon puree until everything is well combined and uniformly pink.
- Pour the creamy watermelon mixture back into the hollowed-out watermelon halves.
- Cover each half tightly with plastic wrap.
- Freeze for at least 6 hours, or until completely solid.
- Remove the plastic wrap and serve generous scoops directly from the chilled watermelon shell.
Notes
Choose a ripe, seedless watermelon that feels heavy for its size and has a prominent yellow field spot. Chill the ingredients before preparing the ice cream for a creamier texture. Strain the watermelon puree thoroughly for a silky finish. For a dairy-free version, substitute full-fat coconut cream for the heavy cream. Garnish with fresh mint leaves or miniature chocolate chips if desired.
- Prep Time:20 minutes
- Cook Time:0 minutes
- Category:Dessert
- Method:No-Churn
- Cuisine:American