Cozy Autumn Delights: Decorated Cookie Recipe to Enchant Your Fall Gatherings
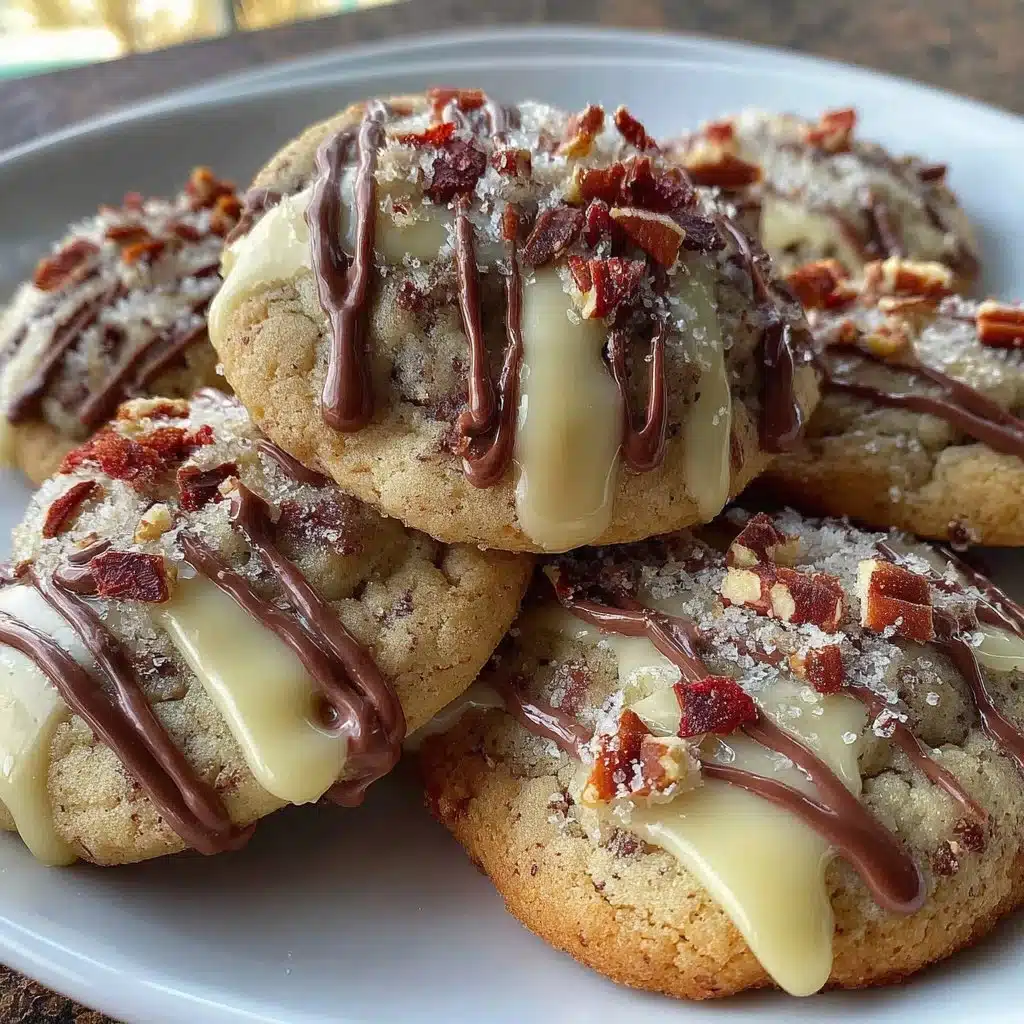
As the leaves turn brilliant shades of amber and crimson, and the crisp air beckons us indoors, it’s time to bring a spark of warmth into our kitchens. One of the most delightful ways to celebrate this beautiful season? Baking sweet, intricately decorated cookies that evoke the spirit of fall. This Decorated Cookie Recipe is a favorite among home bakers, not just for its stunning aesthetic appeal but also for its delicious flavor and festive vibe. Whether you’re hosting a cozy get-together or simply craving a sweet treat with a cup of tea, these charming cookies are sure to impress!
Ingredients List
To create your beautiful fall-themed cookies, gather the following ingredients. Simple and accessible, each item plays a vital role in crafting cookies that taste just as amazing as they look!
For the Cookies:
- 2 ¾ cups all-purpose flour (use gluten-free flour for a gluten-free version)
- 1 ½ teaspoons baking powder
- ½ teaspoon baking soda
- ½ teaspoon salt
- 1 cup unsalted butter, softened (use a dairy-free alternative if desired)
- 1 ½ cups granulated sugar
- 1 large egg
- 1 tablespoon pure vanilla extract
- 1 tablespoon ground cinnamon (for an extra autumnal flavor)
For the Royal Icing:
- 3 egg whites (or a powdered egg white substitute)
- 4 cups powdered sugar, sifted
- Food coloring (colors of your choice for festive decoration)
- 1 tablespoon lemon juice (optional, for taste)
Step-by-Step Instructions
Ready to dive into the world of cookie decorating? Let’s break it down into easy-to-follow steps:
Step 1: Prepare the Dough
- In a medium bowl, whisk together the flour, baking powder, baking soda, salt, and cinnamon. Set this mixture aside.
- In a large bowl, use an electric mixer to cream the softened butter with the granulated sugar on medium speed until light and fluffy.
- Add in the egg and vanilla extract, mixing well until combined.
- Gradually incorporate the dry mixture into the wet ingredients, stirring until a soft dough forms.
Step 2: Chill the Dough
- Divide the dough in half, wrap each half in plastic wrap, and refrigerate for at least 1 hour (or overnight for best results). This helps to firm the dough and makes rolling and cutting easier.
Step 3: Roll and Cut Cookies
- Preheat your oven to 350°F (175°C). Line baking sheets with parchment paper.
- On a floured surface, roll out one portion of the chilled dough to about ¼-inch thick. Use your favorite cookie cutters to create seasonal shapes such as leaves, pumpkins, or acorns.
- Place the cut-out cookies on the prepared baking sheets, spacing them an inch apart.
Step 4: Bake the Cookies
- Bake in preheated oven for 8-10 minutes, until the edges are just beginning to turn golden. Remove from the oven and let cool on baking sheets for a few minutes before transferring to a wire rack to cool completely.
Step 5: Make the Royal Icing
- In a clean bowl, whip the egg whites until frothy. Gradually add in the sifted powdered sugar and continue to whip until stiff peaks form. If desired, stir in lemon juice for added flavor.
- Divide the icing into separate bowls and add food coloring to each for a beautiful fall palette.
Step 6: Decorate Your Cookies
- Once the cookies are completely cool, begin decorating! Use piping bags or simple squeeze bottles to create your designs.
- Let the icing dry completely before stacking or storing your cookies.
Tips for Success
- Chill, Chill, Chill: Don’t skip the chilling step! It’s crucial for keeping your cookie shapes intact during baking.
- Experiment with Colors and Patterns: Let your creativity flow! Use different piping techniques to create detailed designs.
- Use a Toothpick: A toothpick can help you control the flow of icing for fine details.
- Practice Patience: Allow the decorated cookies to dry thoroughly before handling; this ensures your beautiful designs stay intact.
Possible Variations
Baking is all about creativity! Here are a few variations to spice up your Decorated Cookie Recipe:
- Gluten-Free: Substitute all-purpose flour with a gluten-free flour blend. Ensure other ingredients are gluten-free as well.
- Streusel Topping: For a unique twist, sprinkle a mixture of oats, brown sugar, and cinnamon on top of your cookies before baking.
- Flavored Icing: Experiment with flavored extracts like almond or lemon to give your icing an extra layer of deliciousness.
Storage Recommendations
Once you’ve decorated your cookies, it’s essential to store them properly:
- Room Temperature: Store decorated cookies in an airtight container at room temperature for up to one week.
- Freezing: If you want to save some for later, freeze un-decorated cookies. Separate layers with parchment paper and keep them in a freezer-safe container for up to three months. Decorate after thawing for best results.
Conclusion
As you fill your home with the delightful scents of baking cookies, remember that the most important ingredient is the love you put into each batch. This Decorated Cookie Recipe is perfect for creating sweet memories with family and friends during this cozy season. So gather your ingredients, embrace your inner baker, and let the festive fun begin!
FAQs
1. Can I use a different fat instead of butter?
Yes! You can use dairy-free butter or coconut oil for a dairy-free option while maintaining a rich, buttery flavor.
2. How do I get my icing to the right consistency?
Your icing should be thick enough to hold its shape when piped but soft enough to flow smoothly when flooding the cookies. Adjust the consistency by adding water or additional powdered sugar.
3. How long do decorated cookies last?
Decorated cookies can last for up to a week at room temperature in an airtight container. For longer storage, freeze the un-decorated cookies.
4. What’s the best way to clean my piping tips?
Soak your piping tips in warm, soapy water right after using them. This will help dissolve any residual icing, making them easier to clean.

Decorated Cookie Recipe to Enchant Your Fall Gatherings
- Total Time: 1 hour 30 minutes
- Yield: 24 cookies
- Diet: Vegetarian
Description
Baking sweet, intricately decorated cookies that evoke the spirit of fall, perfect for cozy gatherings.
Ingredients
- 2 ¾ cups all-purpose flour (or gluten-free flour)
- 1 ½ teaspoons baking powder
- ½ teaspoon baking soda
- ½ teaspoon salt
- 1 cup unsalted butter, softened (or dairy-free alternative)
- 1 ½ cups granulated sugar
- 1 large egg
- 1 tablespoon pure vanilla extract
- 1 tablespoon ground cinnamon
- 3 egg whites (or powdered egg white substitute)
- 4 cups powdered sugar, sifted
- Food coloring
- 1 tablespoon lemon juice (optional)
Instructions
- Prepare the Dough: In a medium bowl, whisk together the flour, baking powder, baking soda, salt, and cinnamon. In a large bowl, cream the butter with the sugar until fluffy. Add in the egg and vanilla, mixing well. Gradually incorporate the dry mixture until a soft dough forms.
- Chill the Dough: Divide the dough in half, wrap each half, and refrigerate for at least 60 minutes.
- Roll and Cut Cookies: Preheat your oven to 350°F (175°C). Roll out one portion of the dough to ¼-inch thick and use cookie cutters to create shapes.
- Bake the Cookies: Bake for 8-10 minutes until edges are golden. Cool on baking sheets for a few minutes before transferring to a wire rack.
- Make the Royal Icing: Whip egg whites until frothy and then add powdered sugar until stiff peaks form. Divide icing and add food coloring.
- Decorate Your Cookies: Once cookies are cool, decorate with icing using piping bags.
Notes
Chill the dough for best results, and experiment with icing colors and patterns.
- Prep Time: 20 minutes
- Cook Time: 10 minutes
- Category: Dessert
- Method: Baking
- Cuisine: American